|
||
|
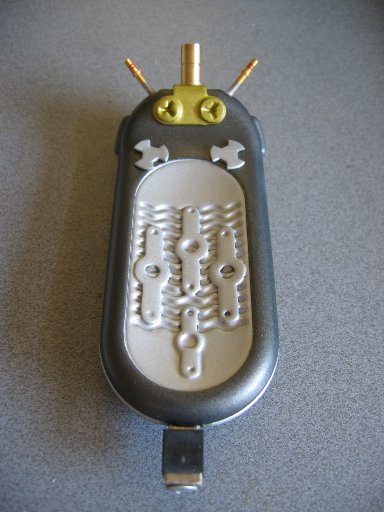
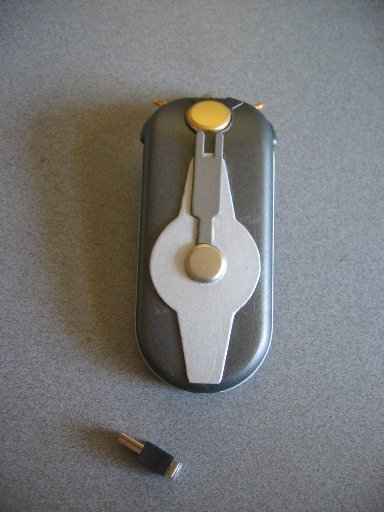
Among the different project started this summer, here is a funny one. I got the idea as soon as I started my first comlink, an "almost-replica" of obiwan's one. Made of a Gilette shaver for women, as most of you know. ►The youtube video http://www.partsofsw.com/Ep_1/quicom.htm Padawan's guide http://www.padawansguide.com/communicator.shtml ► My First Comlink :   ► Little history of this prop idea : 2 years ago, I bought a logitech wireless bluetooth headset so that I could skype without plugging anything to my laptop. Unfortunatly, the embedded bluetooth adapter did not work with that headset. Then the laptop got stolen in my car, I got a new one at work... The headset worked with it but... it also had an embedded webcam + mike... No more needs for that thing. No big deal, I got it with a huge discount from a friend of mine working at logitech. Time for me to put that in a new comlink !!! ► Here is the headset :  ► Unmounting the headset was not easy, since it's almost water/wind proof. The dremel was the way to go.  ► I had to remove / change place of a few parts inside. - the activation button - the bicolor LED (call, BT connexion, low batt, various blinking indications) - 3 wires - the charging plug (4 wires) - the charing LED (2 wires) ► I replaced the LEDs by some bigger ones, 2x 3 mm ones for the red+blue, and replaced the orange charging one by another blue smd one. I also had to change a few resistors on the board to adapt the current on the new LEDs and get a nice illumination. I used ultra thin tweezer to change them, since those resistors were in 410 smd foot print (.4 mm wide x 1 mm long).  ► From the DK visual dictionnary, the brass top cylinder between the 2 antennas (which are BtW the exact same as in the movies) is supposed to be the microphone of the comlink. So be it ! I machined the brass part, and drilled it to guide the sound to the microphone (6mm OD electret one) laying inside the comlink. The back of the mike was acousticly isolated from the rest with some blu-tack since the speaker is not far away, and I wanted to stay away from larsen. ► The grip was the most complicated thing to deal with. This is a shaver like the old ones (a re-edition, though) with a silicone rubber grip. Once you remove all the plastic of the skeleton, it's not staying in place. Silicone can't be painted in a regular way, even with a primer. I therefore used resin to stabilise the grip. Once the grooves have been partially filled, I used my electric file to thinner the grip. Then I used some fiber glass mat and resin to continue stabilising the thing. One groove has been remove to leave the sound from the speaker coming out. 2 additionnal layers of resin, primer, and paint.  ► With my cell phone, that has some lightsaber sounds when I slide it ! The screen saver has some SW stuff inside too, of course. The blue LED blink, the comlink is connected to the phone.  Back side  ► I even successfully saved the little transparent plastic insert that guides the light of the charging LED. Inserted in the side of the gilette shaver, with my little SMD blue LED behing, here is the comlink charging. ► oohhhhhh, an elephant comlink... or a duck one, as you wish... Just before gluing the whole thing.  ► The finished comlink 
|
||
